Saturday, June 30

Friday, June 29

harvest: garlic scapes

Garlic scapes are flower stalks of hardneck garlic plants. They are (probably) the most seasonal produce you'll fall in love with. You're not likely to find these at the grocery stores. You may find them at the farmer's market for a few weeks, but be quick because each plant only produces one stalk and supplies could be limited. 

Garlic is the easiest plant you can grow. Timing is the only consideration. We planted our garlic in the community garden at the end of October by burying each clove, pointing up, 15cm (6") apart, 10cm (4") deep on well amended soil. They were then mulched with dried leaves, then forgotten about until it was time to harvest the scapes. I will ignore it again until it's time to harvest the garlic bulbs. It thrives on being left alone, really. We got our garlic "seeds" last year from The Garlic Festival hosted, and grown at, the Richmond Sharing Farm. The farmer advised that scapes should be harvested after it has looped around itself (see below) so the plant's energy is directed to growing a larger bulb, rather than producing a flower.

Scapes can be harvested after it has looped to ensure larger garlic bulbs.

This year, we harvested our garlic scapes in mid-June. Scapes have a delicious fresh, light garlic taste. It was turned into a pesto which was mixed into mashed potato and was also used as a spread for sandwiches. 

Have you ever had garlic scapes? If so, how did you eat it?


Tuesday, June 26

make: strawberry planter

There are many existing strawberry planter options out there, both to buy and to make. A quick search on Pinterest will yield a find PVC, pyramid, tiered pots, and on ground options. However, they are likely to be at least two of the following:
  • Cost more than $10
  • Too heavy to hang onto a lattice fence
  • Not cute
  • Not patio friendly, i.e. needs to sit on soil
  • Has bad irrigation or difficult to water
  • Need to be constructed and require a trip to the hardware store
I don't believe you should spend large quantities of money to enjoy gardening nor make a weekend project just for a few cups of strawberries from the patio. So here's what I put together:


This planter consists of a trash basket from IKEA for ($5.99 CDN), burlap bag, and some binder clips (optional). In other words, it required minimal effort and it cost less than $10. Also, it's pretty freaking cute, isn't it?

This can be adapted to similar items like a small laundry hamper or IKEA's plastic bag dispenser. This DIY project doesn't even need a step-by-step tutorial because it's simple, but here it is anyway:


Sew or find a reusable cloth bag that would fit inside your container. I used burlap because it's what I had lying around, but anything porous or even leftover landscape fabric will do. Drill some holes at the bottom of your container. Put your fabric bag inside, keep in place using binder clips or clothes pins. Fill the bottom with soil*.


At this point, determine in which holes your strawberry plants will occupy. Cut a slit through the fabric at your selected areas. Fill with soil until you reach the first slit. Insert the strawberry roots, hold in place, and continue to fill with soil. Pat down the soil to ensure stability. Do same with the remaining spots for strawberries. Hang it up, water thoroughly, and wait for strawberries.


*Because I'm hanging this planter, I added perlite to the soil to keep it light. Alternately, you can use packing foam peanuts or whatever you use to improve irrigation and weight.


Sunday, June 17

bloom: snapdragon flowers roar

Snapdragon flower. 

Some flowers are meh, some flowers are beautiful, and then there's the Snapdragon flower. It comes in a multitude of colours, available in dwarf to tall varieties, but most fun of all...it's interactive! You can make it roar! Here's a .gif I made to illustrate my point:
Snapdragon roars!

Wednesday, June 13

blargh: sometimes people just suck

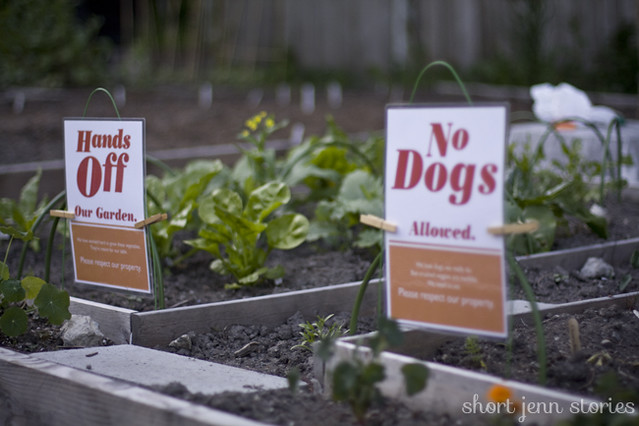
Signs we made and posted after several incidents.
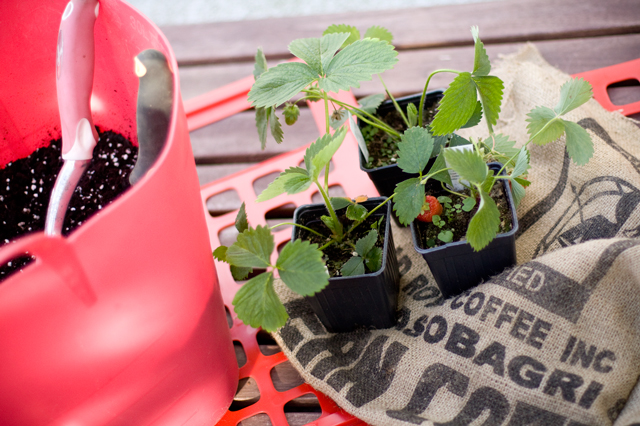
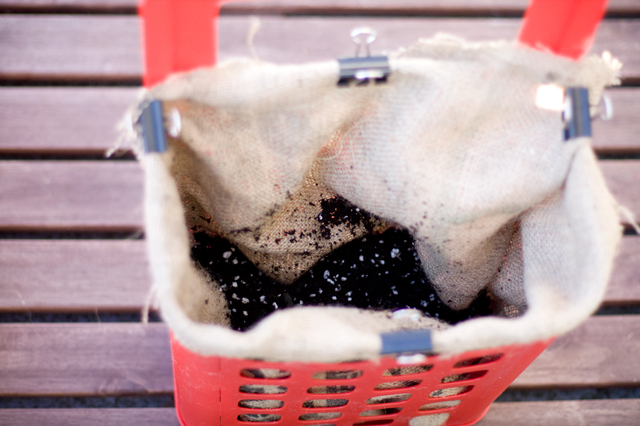
I was on a waitlist for almost one year before getting the call that a new community garden will be set-up near my home. It's a plot that Bryce and I built from scratch. The community garden build was during an unusually warm September. On three afternoons during a heatwave, we built the frames, loaded the wheelbarrow with soil using a shovel, and hauled soil back and forth. One heavy load of dirt at a time.

This is the first year that I grew everything from seed. I invested in a pantry rack, heating mats, seed starting soil, grow lights, and everything else needed. I bought seeds from reputable sources and bought only open-pollinated, GMO free seeds. I was excited about everything. Every new growth and every change in that growth was documented and stared upon in awe for a few minutes too long. I created and stuck to a strict schedule to ensure I do not forget anything. I had a spreadsheet!

I fully understand that gardening has just as much disappointment as moments of joy, pride, and accomplishments. I've prepared myself for the disappointment when a seed doesn't grow or when a seedling doesn't transplant well. I know some plants may not bear as much fruit as I anticipate. I know critters may dig up or eat my plants. But I completely forgot to take into account that sometimes people just suck.

Our community garden is tucked away in a small park at a residential neighbourhood. There isn't much traffic and only those who live in the area would even know of its existence. There is a large sign posted at the entrance, as well as smaller laminated signs, proclaiming that all plants are owned and are grown by their respective plot owners. And yet every few weeks when I speak to plot mates, I find that they too have had some leaves cut haphazardly, fruits picked, plant support, or misc. items in their garden stolen. It's heartbreaking.

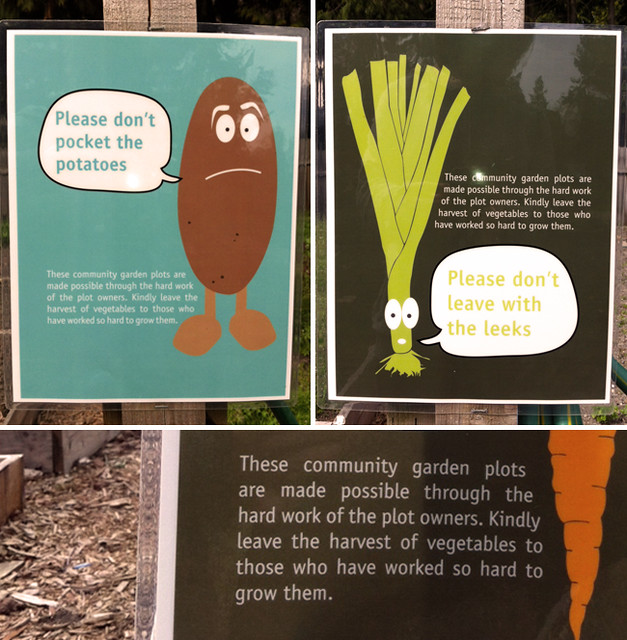
Signage posted throughout the garden.

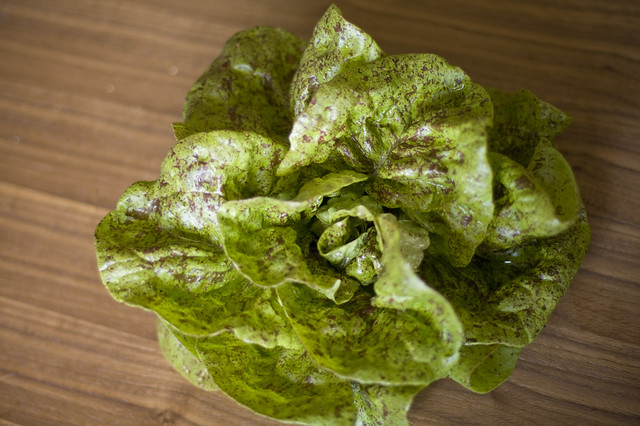
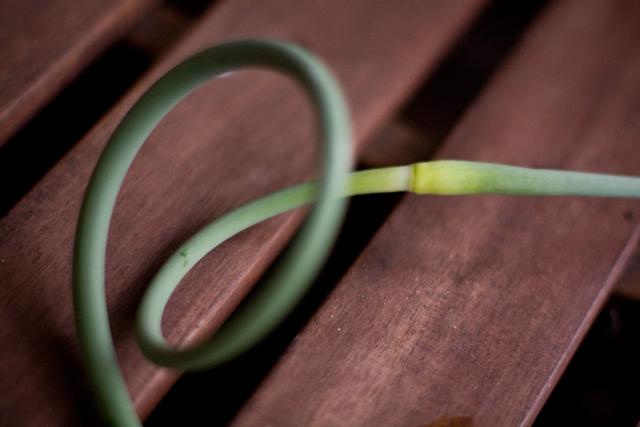
As for my plot, I've had garlic shoots cut, root veggies pulled, my row cover box (a mesh drawer I hand-stitched a row cover over to use for newly transplanted seedlings and for salads) stolen, and most recently had four plants dug up. We've also had plants trampled and destroyed by dogs--evident by large paw prints left behind. It makes me upset every time.

I'm trying to set aside some money so I can build fencing around my plot. If you have any great DIY ideas (read: cheap) for a fence, or if you have dealt with garden thieves, let me know!

Tuesday, June 12

grow: take it easy, there's salad from the patio

Salad from the patio. Tom thumb lettuce, baby chard and kale, misc. red lettuces, and pansies!

This weekend I woke up to Bryce already preparing poached eggs with sriracha mayo on english muffins for breakfast. I decided that we should also have salad, so I headed out onto the patio. Everything photographed above was gathered from miscellaneous container garden plants. I find that exciting!

This is the first year I've made a concious effort to commit to edible gardening. In the past, it was a matter of setting up everything all at once on a sunny weekend in May then harvesting whatever comes up and putting it all to rest in fall. This year, I've planted everything from seed and make a habit of sowing something every week to ensure a continual harvest. Logically I understand how and why it's working, but it just blows my mind that it's working!

I have a tendency to over-plan and scrutinise the details. Bryce has encouraged me to just let go, garden on a whim, and treat it as play time. I'm glad he did because it is far more enjoyable this way. I no longer refer to a spreadsheet with a schedule (which I used to and I still think is an awesome tool). Instead, I now bring 2-3 seed packets when I head out to the patio or the community garden. When I get there, I try to find an empty spot. If I find one, I scatter seeds. Sometimes they come up, sometimes they don't. Either way, it's ok.

Thursday, June 7

make: chive infused vinegar


File this under things that sound fancy and looks beautiful but is really simple to make. It doesn't even require a recipe!

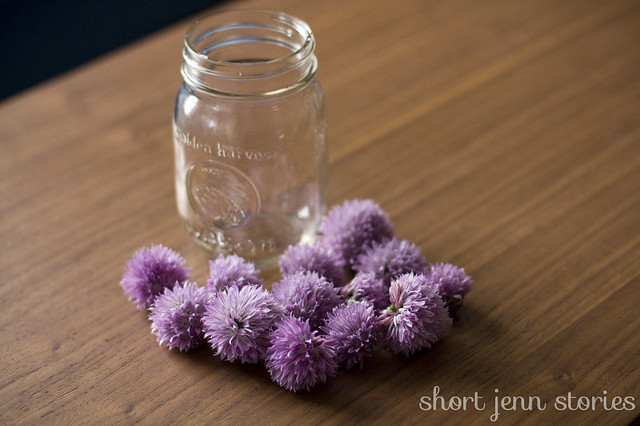
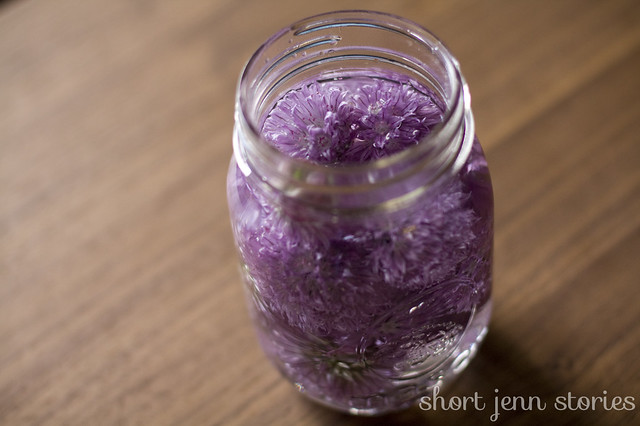
Collect chive blossoms and wash them to get rid of any dust or critters inside. Place it in a mason jar with whatever vinegar you have on hand, then wait for two weeks before straining it. Some advise putting it in the dark or in the sun, or using something fancy like champagne or white wine vinegar. I just left mine sitting on the kitchen counter and used white vinegar I had on hand.

It'll turn into a beautiful pink vinegar with a light chive smell and taste! Use it for salad dressing, dips, and sauces.

Monday, June 4

harvest: butterhead lettuce 'speckles'

'Speckles' Lettuce
Speckles is an heirloom bibb lettuce that originated from Germany and Holland. It was brought over 200 years ago to North America. It's a great tasting lettuce perfect for salads and sandwiches.

I grow it on a raised bed in the community garden and in containers in my patio. Matures in about 55 days and does well in cool, damp weather. Sow in batches of 3 every other week from mid-March to June and again from mid-August and through September to stagger harvests.

It transplants well, but make sure to transplant on an overcast or cloudy day! (I transplanted a batch on a sunny day and it withered by the next day. Oops!) Transplant 10cm (4") apart. Once the leaves touch, thin by harvesting every other plant and let remainders grow until you want to eat them!
Related Posts Plugin for WordPress, Blogger...